Loft and Room

Difficulty
Time Spent
10 Days

Main specs for American yurt companies (organized alphabetically). Updated December 2019. Pacific Yurts declined to provide information for this website.

Company Details

+
Company Location Year First Yurt Sold Tour Available?
BRBlue Ridge Yurts Floyd, VA 2004
CYColorado Yurt Montrose, CO 1980
GLGreat Lakes Yurt Co Grass Lake, MI 2017
LILiving Intent Yurt Co Grass Valley, CA 2015
NSNomad Shelter Homer, AK 1987
RORainier Outdoor Tukwila, WA 2004
SDShelter Designs Missoula, MT 2005
YAYurts of America Indianapolis, IN 1986

Yurt Info

+
Company Available Sizes Max Snow Load* Base Cost of 30' Base Cost of 16'
BRBlue Ridge Yurts 16', 20', 24', 30' 60 psf | 60 psf $13,047 $7,299
CYColorado Yurt 16', 20', 24', 27', 30' 15 psf | 95 psf† $12,240 $7,090
GLGreat Lakes Yurt Co 16', 20', 24', 27', 30' 75 psf | 75 psf $11,000 $5,000
LILiving Intent Yurt Co 12', 14', 16', 20' $6,000
NSNomad Shelter 12', 16', 20', 24', 30', 34', 40', 50' 60 psf | 60 psf $15,500 $8,000
RORainier Outdoor 16', 18', 21', 24', 27', 30', 33' 100 psf | 105 psf† Eagle: $18,820, Raven: $13,358 Eagle: $9,466, Raven $7,426
SDShelter Designs 12', 16', 20', 24', 27', 30', 35', 40' 40 psf | 150 psf $12,480 $6,760
YAYurts of America 12', 14', 16', 20', 30' 60 psf | 95 psf $12,000 $6,499

*(30' yurt without upgrades | 30' yurt with all upgrades), †Site specific engineering available for higher snow loads

Rafter Details

+
Company Wood Species Base Rafter Size for 30'
BRBlue Ridge Yurts Spruce 2x6
CYColorado Yurt Doug Fir 2x4
GLGreat Lakes Yurt Co Doug Fir 2x6
LILiving Intent Yurt Co Doug Fir
NSNomad Shelter Spruce 2x6
RORainier Outdoor Doug Fir 2x6
SDShelter Designs Western Tamarack (Larch) 2x6
YAYurts of America Southern Yellow Pine 2x6

Lattice Details

+
Company Wood Species Lattice Thickness Base Height of Wall
BRBlue Ridge Yurts Poplar 3/4" 7' 4"
CYColorado Yurt Doug Fir 1/2" 7' 2"
GLGreat Lakes Yurt Co Doug Fir 1/2" 7' 4"
LILiving Intent Yurt Co Bamboo 1/2" 6' 9"
NSNomad Shelter Spruce 7/8" 7'
RORainier Outdoor Doug Fir 3/4" 7' 4"
SDShelter Designs Doug Fir 7/16" 7' 2"
YAYurts of America Poplar 3/4" 7'

Available Upgrades

+
Company
Insulation
Thick Roof Cover
French Doors
SIP Panels
Glass Windows
Awnings
Rain Diverter
Opening Dome
Tinted Dome
Water Catchment
Wind & Snow Package
10ft Walls
Swappable Walls
BRBlue Ridge Yurts
CYColorado Yurt
GLGreat Lakes Yurt Co
LILiving Intent Yurt Co
NSNomad Shelter
RORainier Outdoor
SDShelter Designs
YAYurts of America

Final Details

+
Company Lead Time Shipping Available Financing Available On-site Construction Services International Purchasing
BRBlue Ridge Yurts 3-4 weeks
CYColorado Yurt 5-8 weeks
GLGreat Lakes Yurt Co 6-8 weeks
LILiving Intent Yurt Co 7 weeks
NSNomad Shelter 6-12 weeks
RORainier Outdoor 3-7 weeks
SDShelter Designs 4-6 weeks
YAYurts of America 2-5 weeks

It's time to add some structure to the interior.


Design interior layout

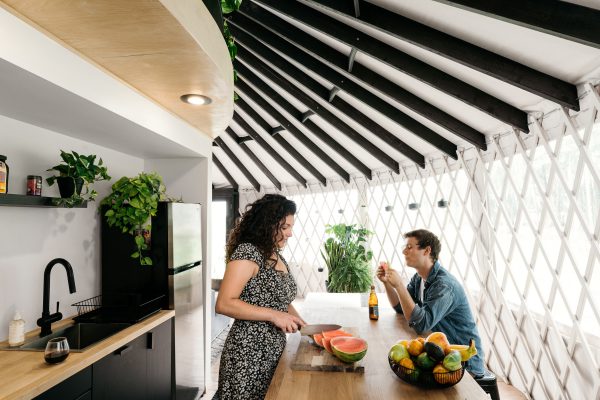
A newly finished yurt is one massive open room. Without any additional construction inside, the kitchen would bleed into the bedroom; the bedroom would mix with the bathroom and so on. It’s an environment that can promote clutter and disorganization especially if your intent is full-time living. The best solution to this is to build interior walls that can create rooms or partition the space into separate sections. Their particular layout will depend on your individual requirements. I designed my space in 3D using SketchUp.
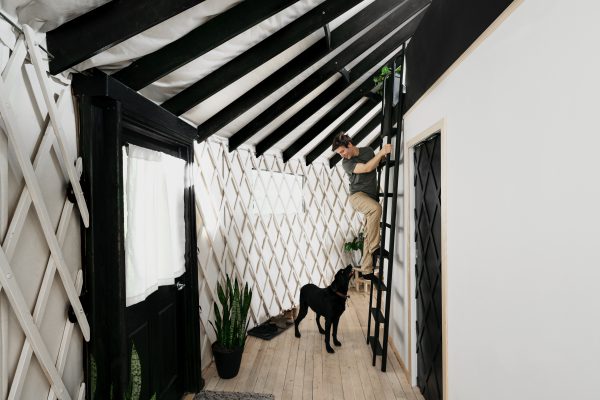
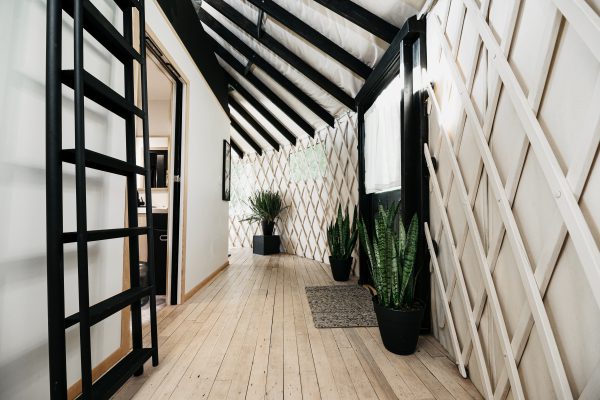
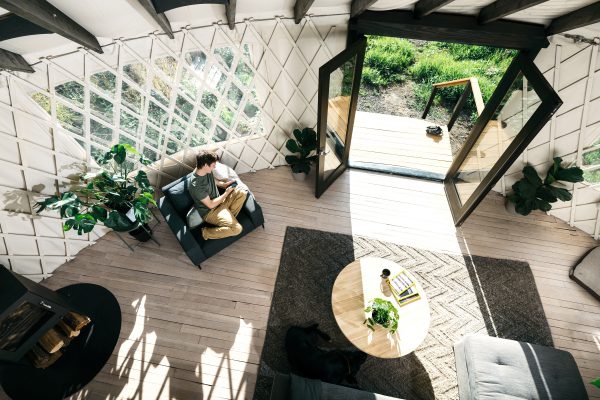
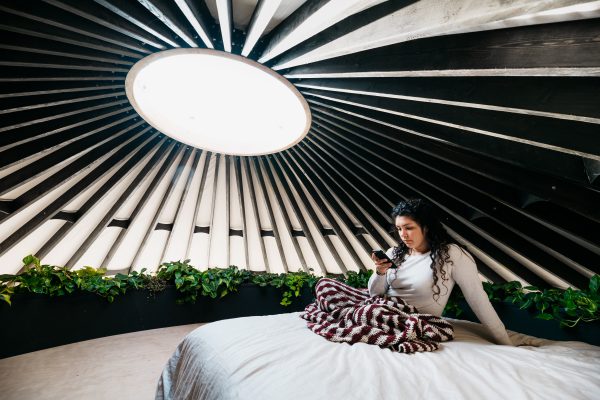
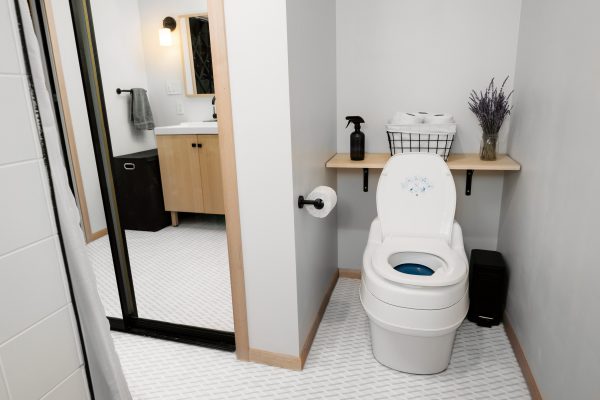
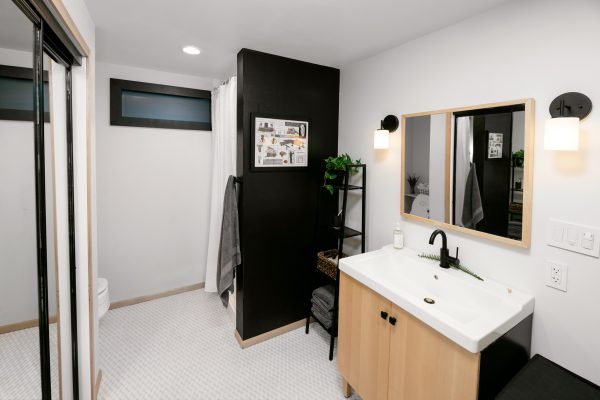
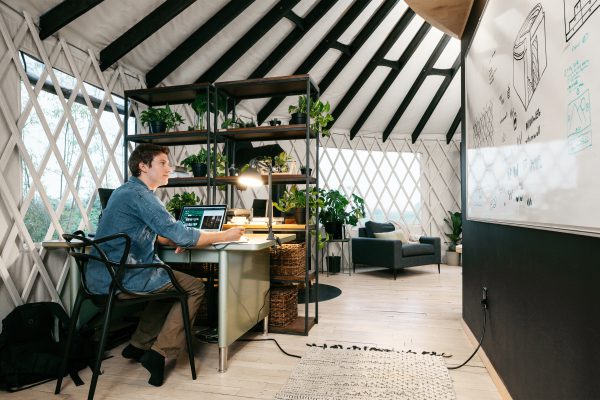
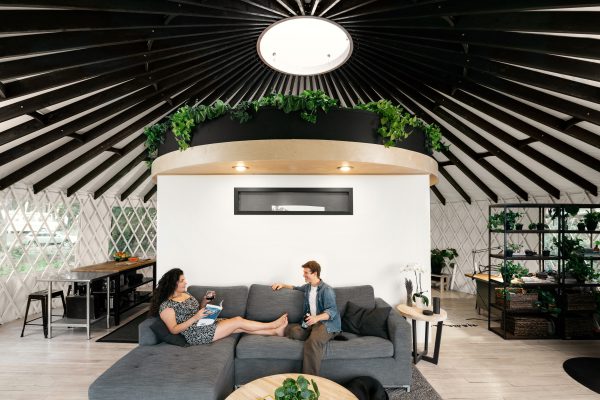
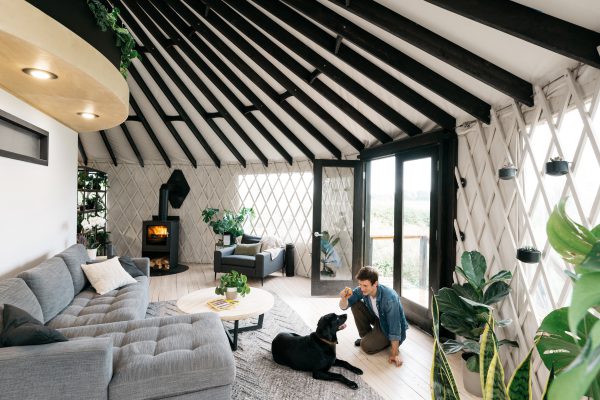
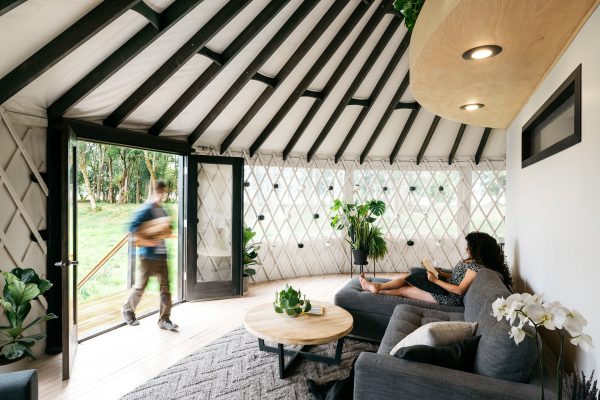
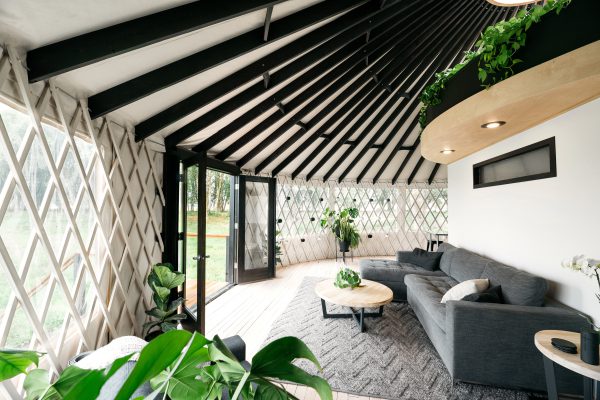
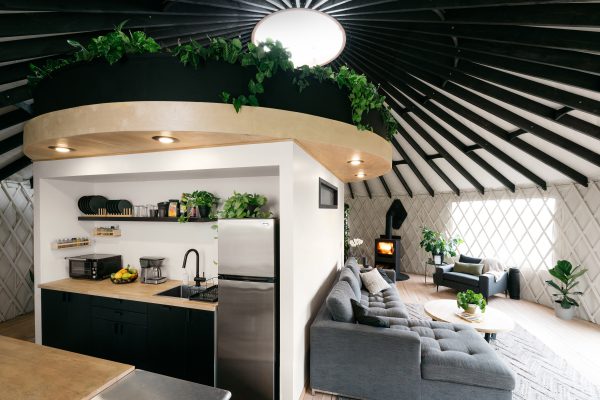
My final design was an interior room that would house a private bathroom. On top, there would be a circular platform accessed by a loft ladder. The lower the walls are the more headspace you will have up top. On the sides of this room, there would be a kitchen and an office space. The front would be reserved for a general living space/guest bedroom with a pullout couch.


Frame walls

Luckily, walls for the interior of a yurt can be built like a normal wall frame using 2x4s (2x6s for walls with plumbing). Nothing special. Thoughtful measurement and cutting is the hardest part. A pneumatic nailer will make it easy work to assemble. Raise walls and place them in the proper location. Secure walls together with nails or screws. Attach walls to the platform below with lag screws.
  • Create a cut list

    Using your design as a guide, determine how much wood you’ll need and what size each piece will need to be. You’ll have to account for your bottom plates, studs, two top plates and any jack studs, king studs, headers and cripples for windows and doors.

  • Cut wood

    As accurately as possible, cut all the lengths of wood with a miter saw. Label and number if necessary.

  • Lay out boards for each wall and attach together

    Measuring on the top and bottom plates, mark out where each stud goes. Using a pneumatic nailer (or hammer and nails if you’re old school) assemble walls.

  • Position walls in place and secure

    One by one, lift walls into place. Secure to the floor with lag screws. It’s best to lift walls with more than one person.

  • Attach 2nd top plates on all walls

    The 2nd top plate overlaps with adjacent walls securing them together.

+ More

Construct platform top

A circular platform is a unique challenge. To get the round shape, I laid eight sheets of plywood in two rows next to each other. I found the center of all the plywood and drove a nail in that exact point. I tied a string line the same length as the platform’s radius to this nail. With a pencil on the end of the string, I could trace a perfect circle. The plywood was cut and each piece was transferred to the second layer of plywood for the top layer. The internal frame of the loft was constructed of 2x8s and featured a unique triple cantilever frame designed by Moda Design.

The first layer of plywood was secured on top of existing wall frames with help from an occasional temporary brace. Then came the framing and finally the top layer of plywood attached with brad nails. The exposed perimeter of the loft was covered with a thin sheet of ¼” plywood that could bend around the curve.

One More Thing

If you plan on including recessed lights or other electrical work within the frame of the loft, don't attach the top layer of plywood until your wiring is complete.


Install wall covering

Since this is a chapter about the interior walls, it would be only natural to talk about covering those walls with sheathing. However, if you plan on installing any plumbing and/or electrical, this would be the time to do it. You can’t install those things when the internals of the walls are hidden away. Skip ahead to the next two chapters to learn more about that process.

Otherwise, cover these bad boys up with your choice of sheathing. The most common sheathing is gypsum board or drywall. You’ll secure these to the walls with drywall screws and apply mud to smooth all the seams and screw holes. Sand religiously for a silky smooth surface. If there’s a possibility that your yurt will be moving at any point, sheetrock is not recommended because it is not reusable. There are reusable options like plywood, wainscotting or wood boards.


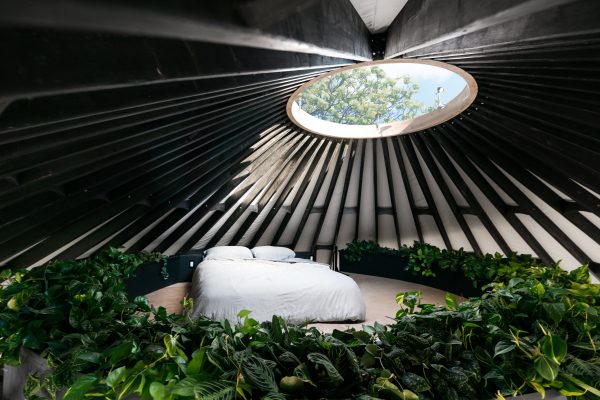
Create loft planter

Since we wanted to reduce weight and mess, we opted to create a faux-planter instead of a true planter filled with dirt and gravel. Essentially it’s made of short walls lined on the inside with plastic sheeting (to provide some water resistance. Our plants would sit in pots inside this faux-planter with pots hidden from view. Small frames made from 2x2s were created and secured to the platform in a circular fashion every 2 feet. ¼” plywood was cut to size and secured to these frames around the loft.