a Whimwell project
Guides


Lifestyle Guide
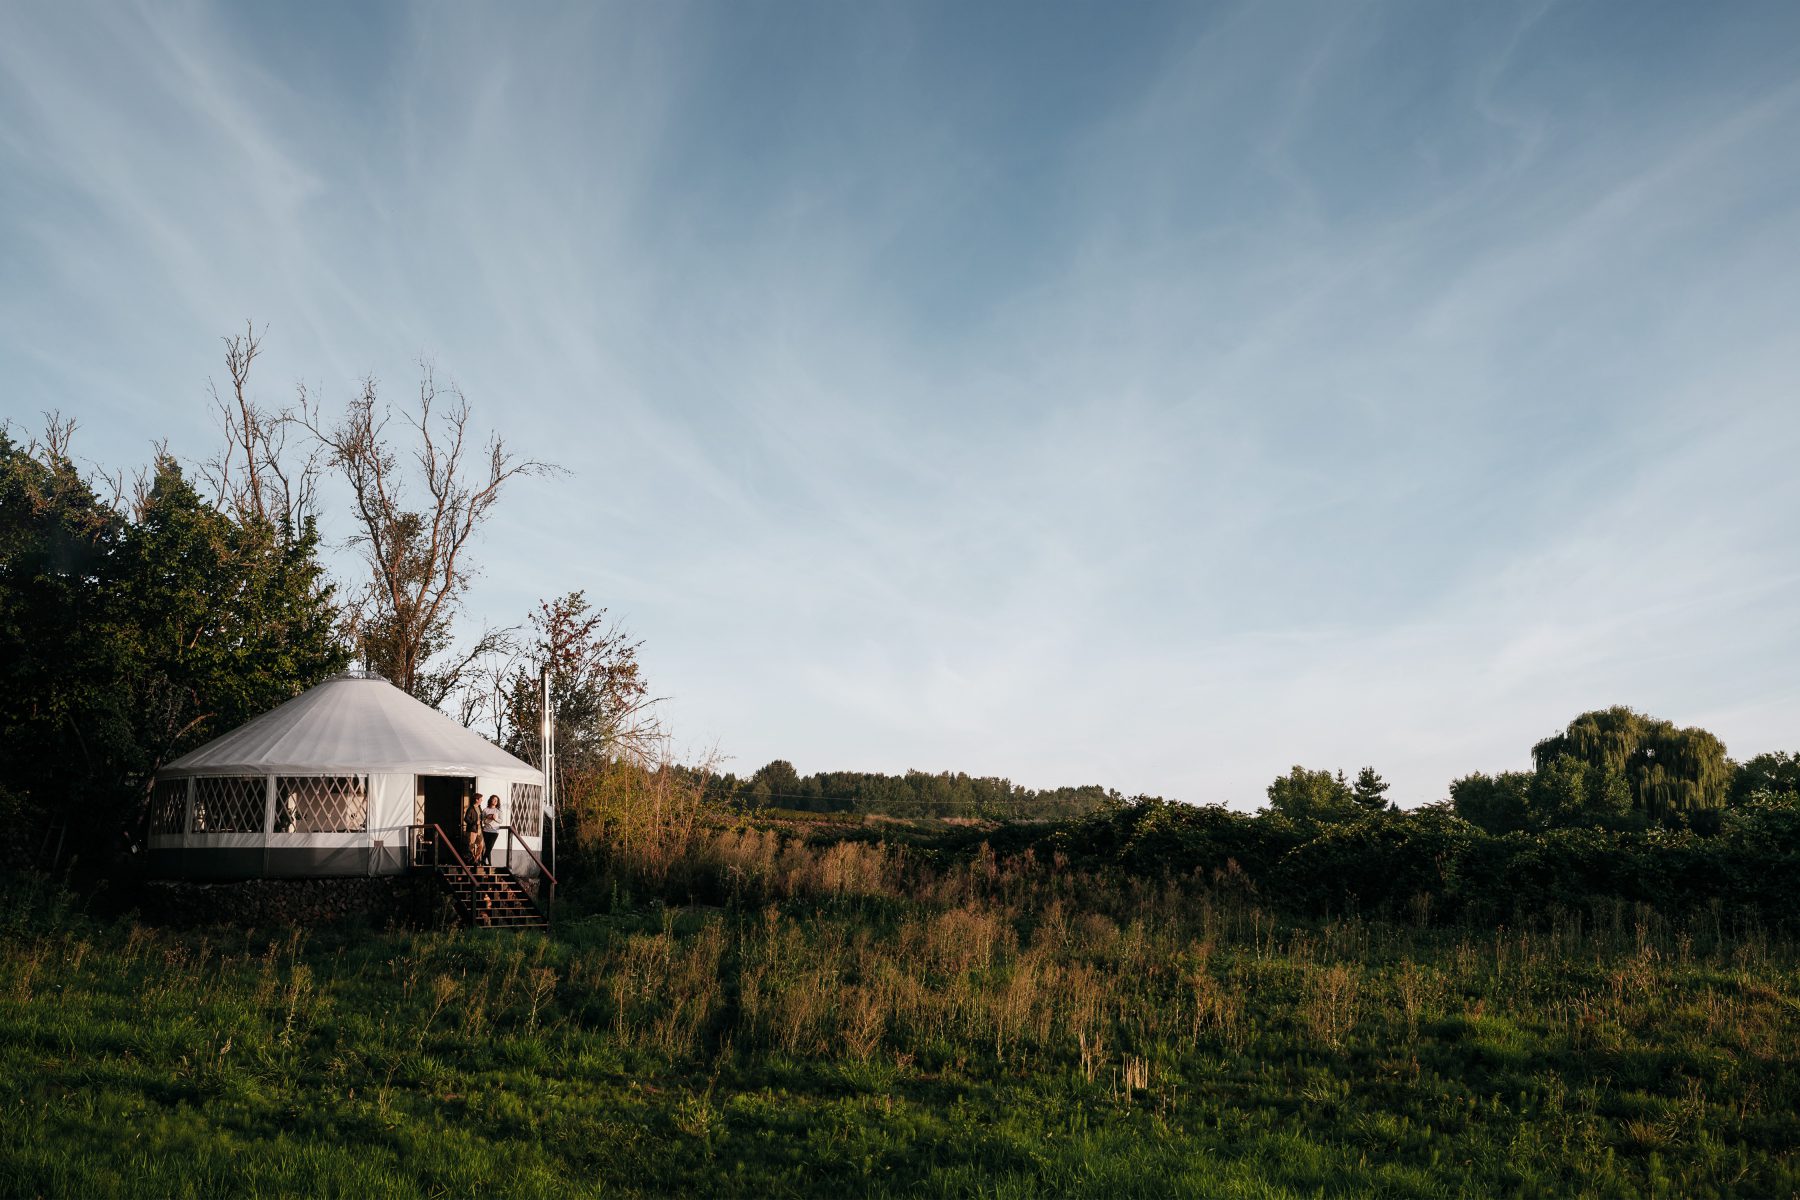
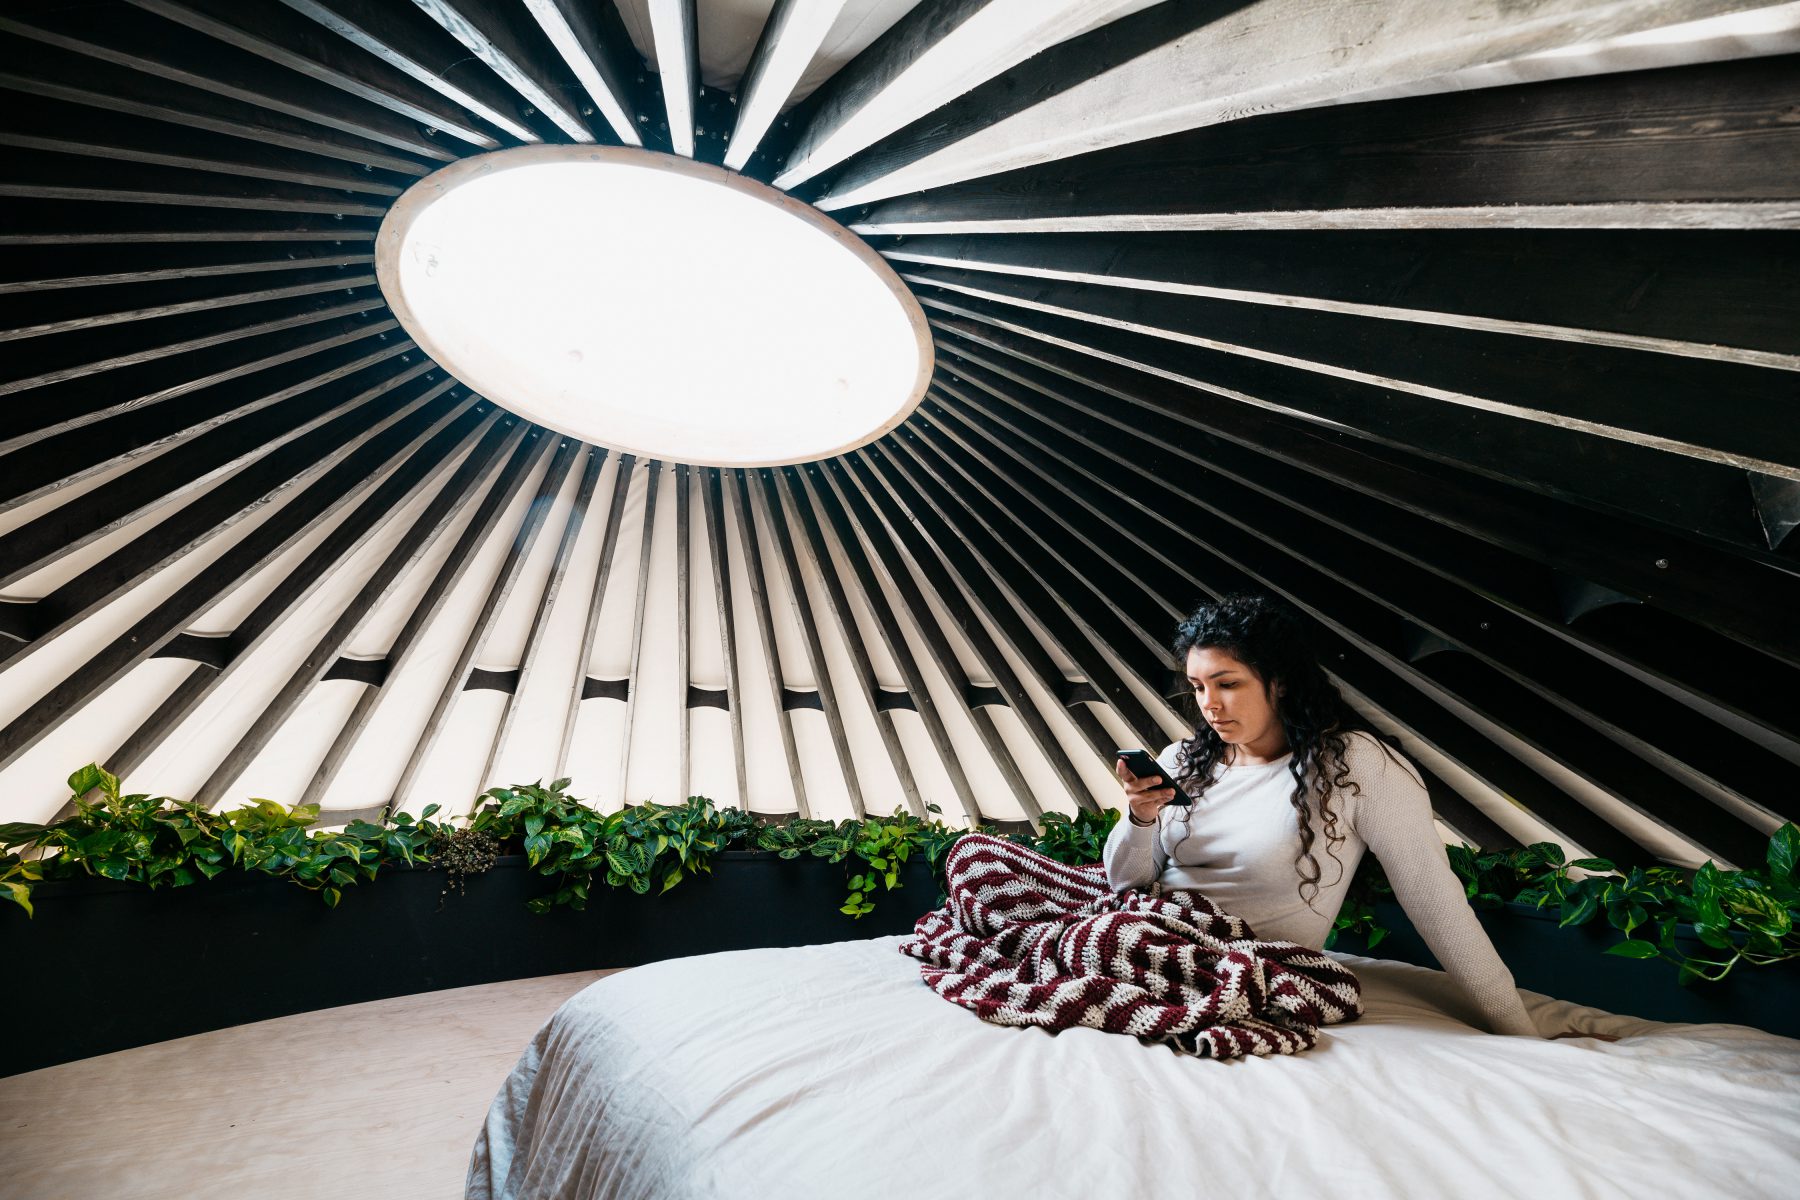
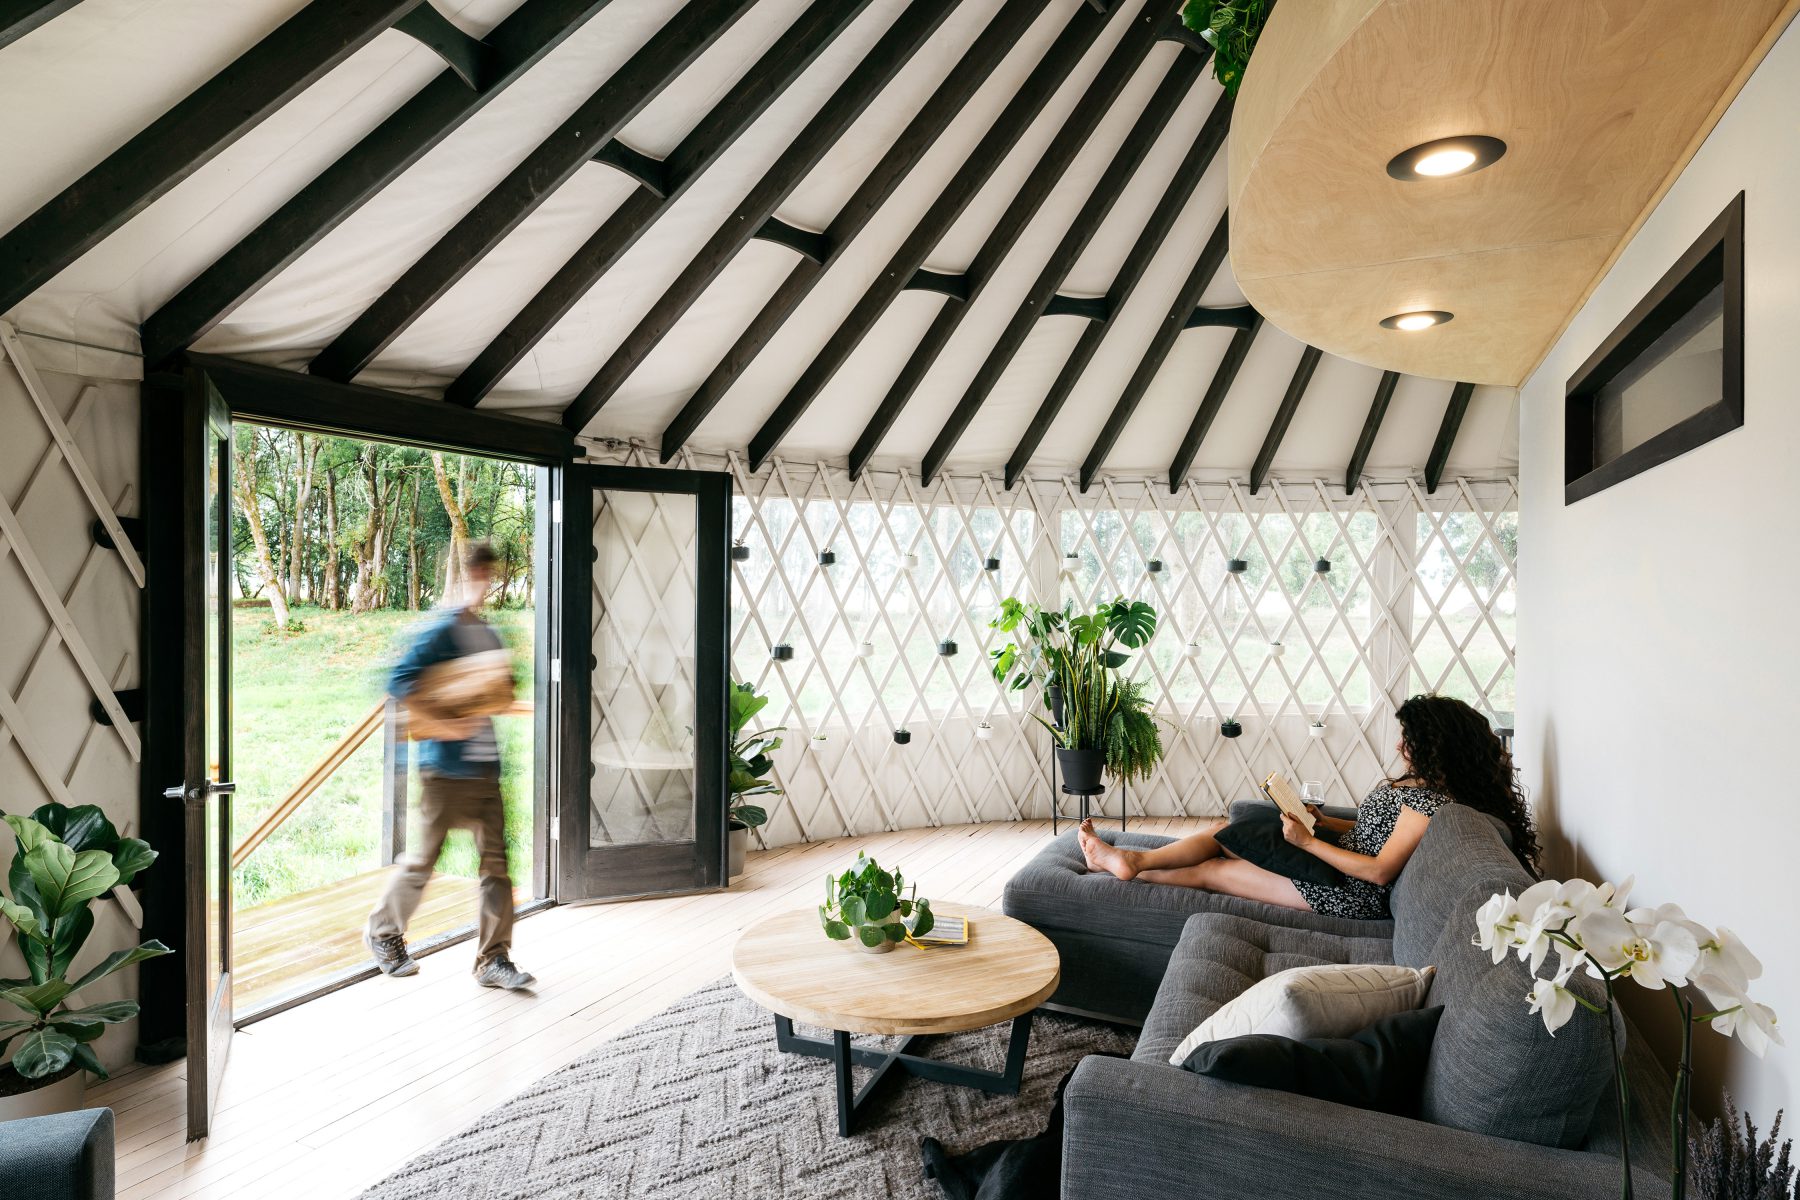
There are many questions about living in a yurt. This guide will provide the answers.


FAQ
How long does it take to build a yurt?
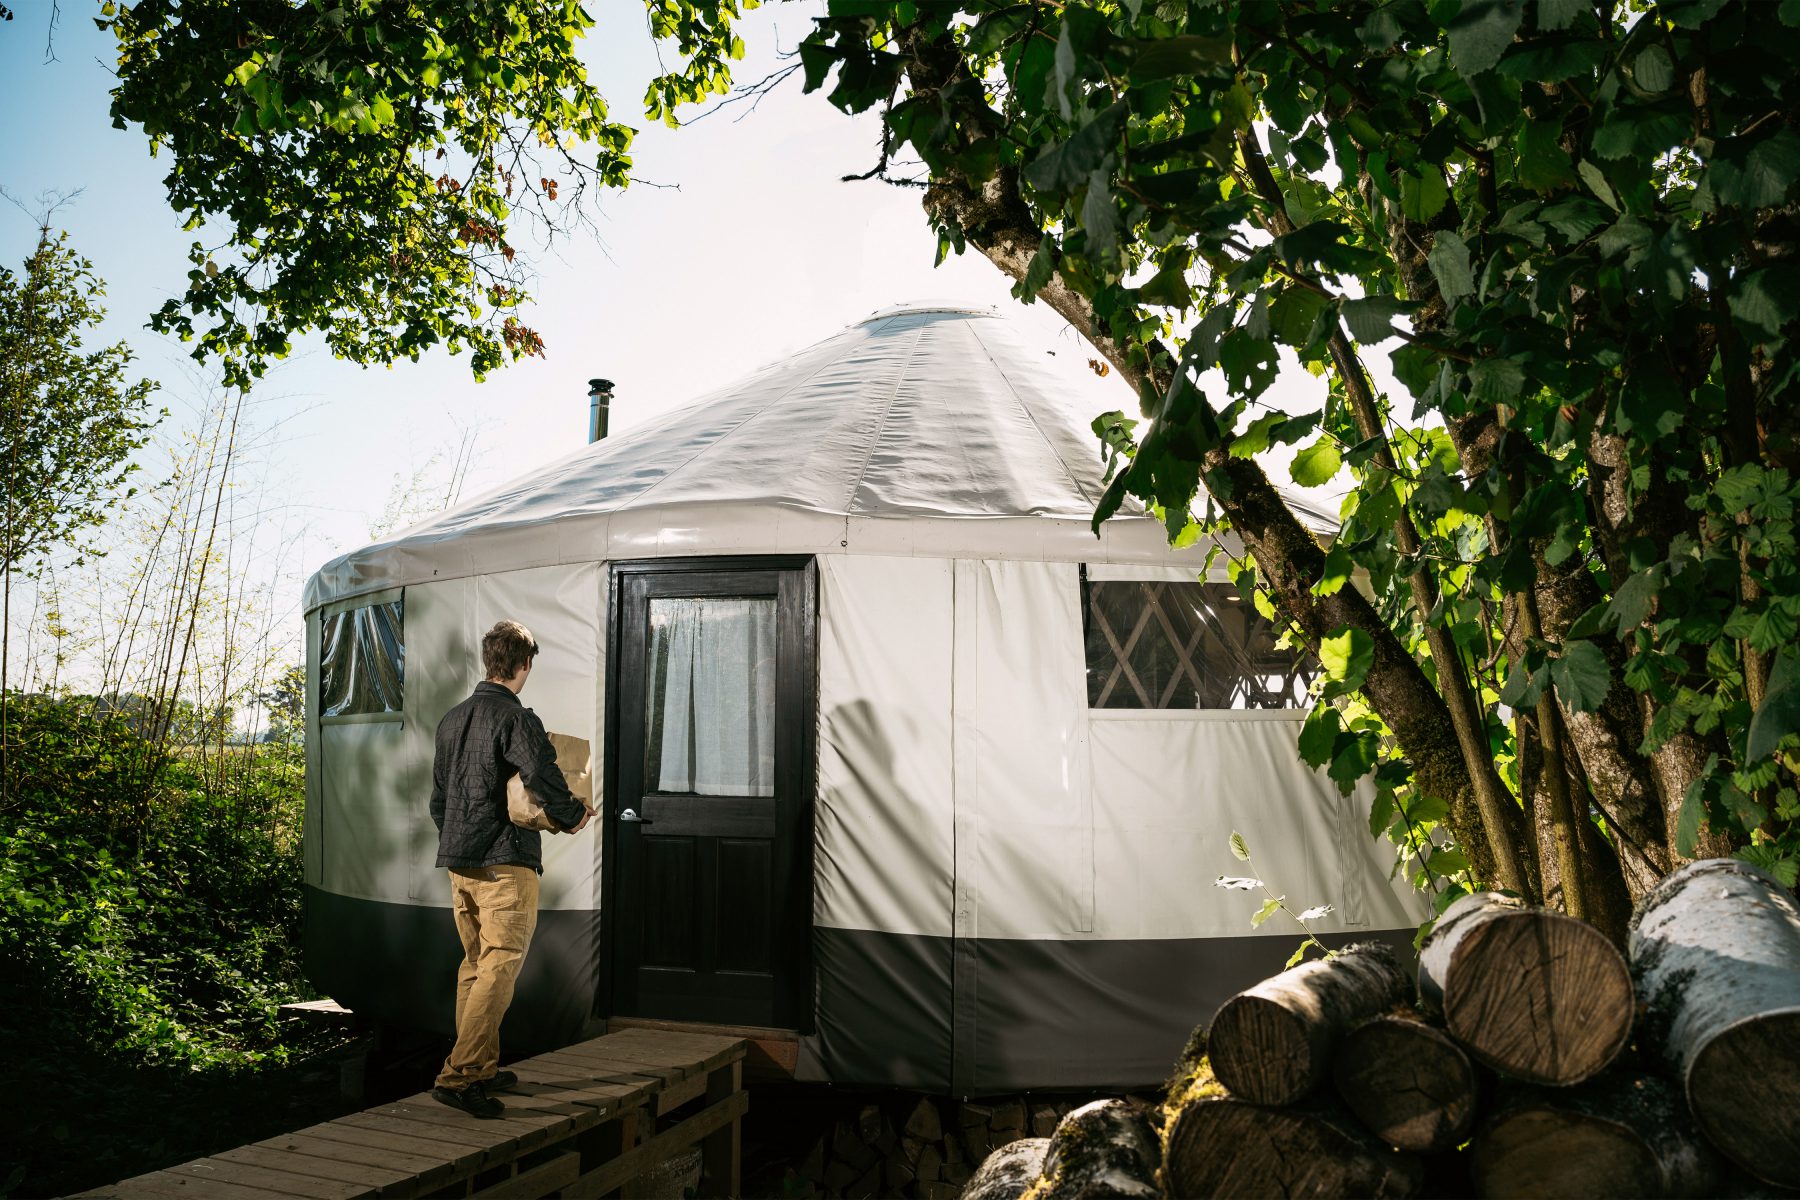
The actual yurt structure goes up pretty quick. With the right group of helpers, the exterior can be built in a long weekend. The platform and interior build-out can add weeks or months to the project. Much of it is to taste.
How much does it cost?
Yurts can vary from a few thousand dollars for a small, minimalist yurt to upwards of $100k for a decked out behemoth. Our yurt came in around $65k which included all the building materials, furniture and appliances.
Do you have electricity?
Yes! As a modern yurt, electricity was important to have. We're hooked into the city's power and currently use an allotted 30amps for all of our electrical needs.
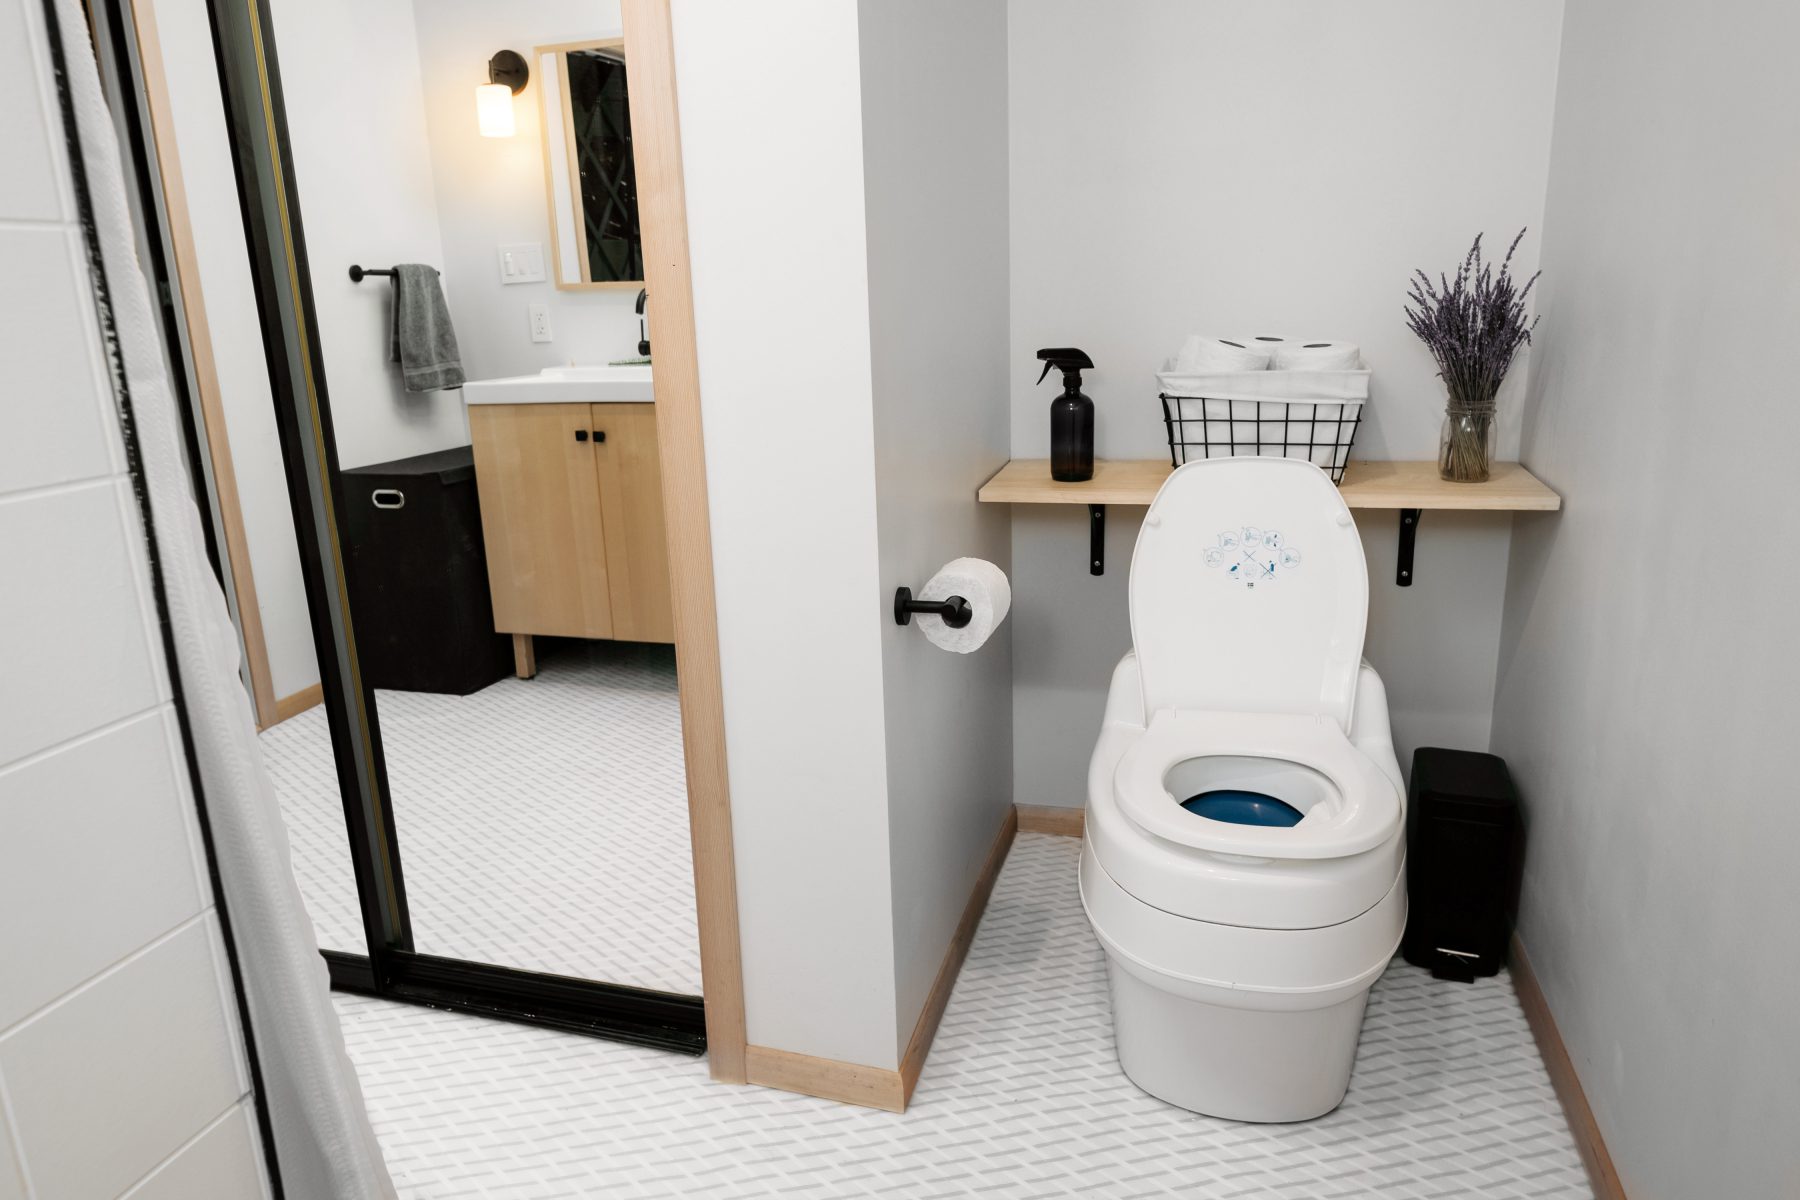
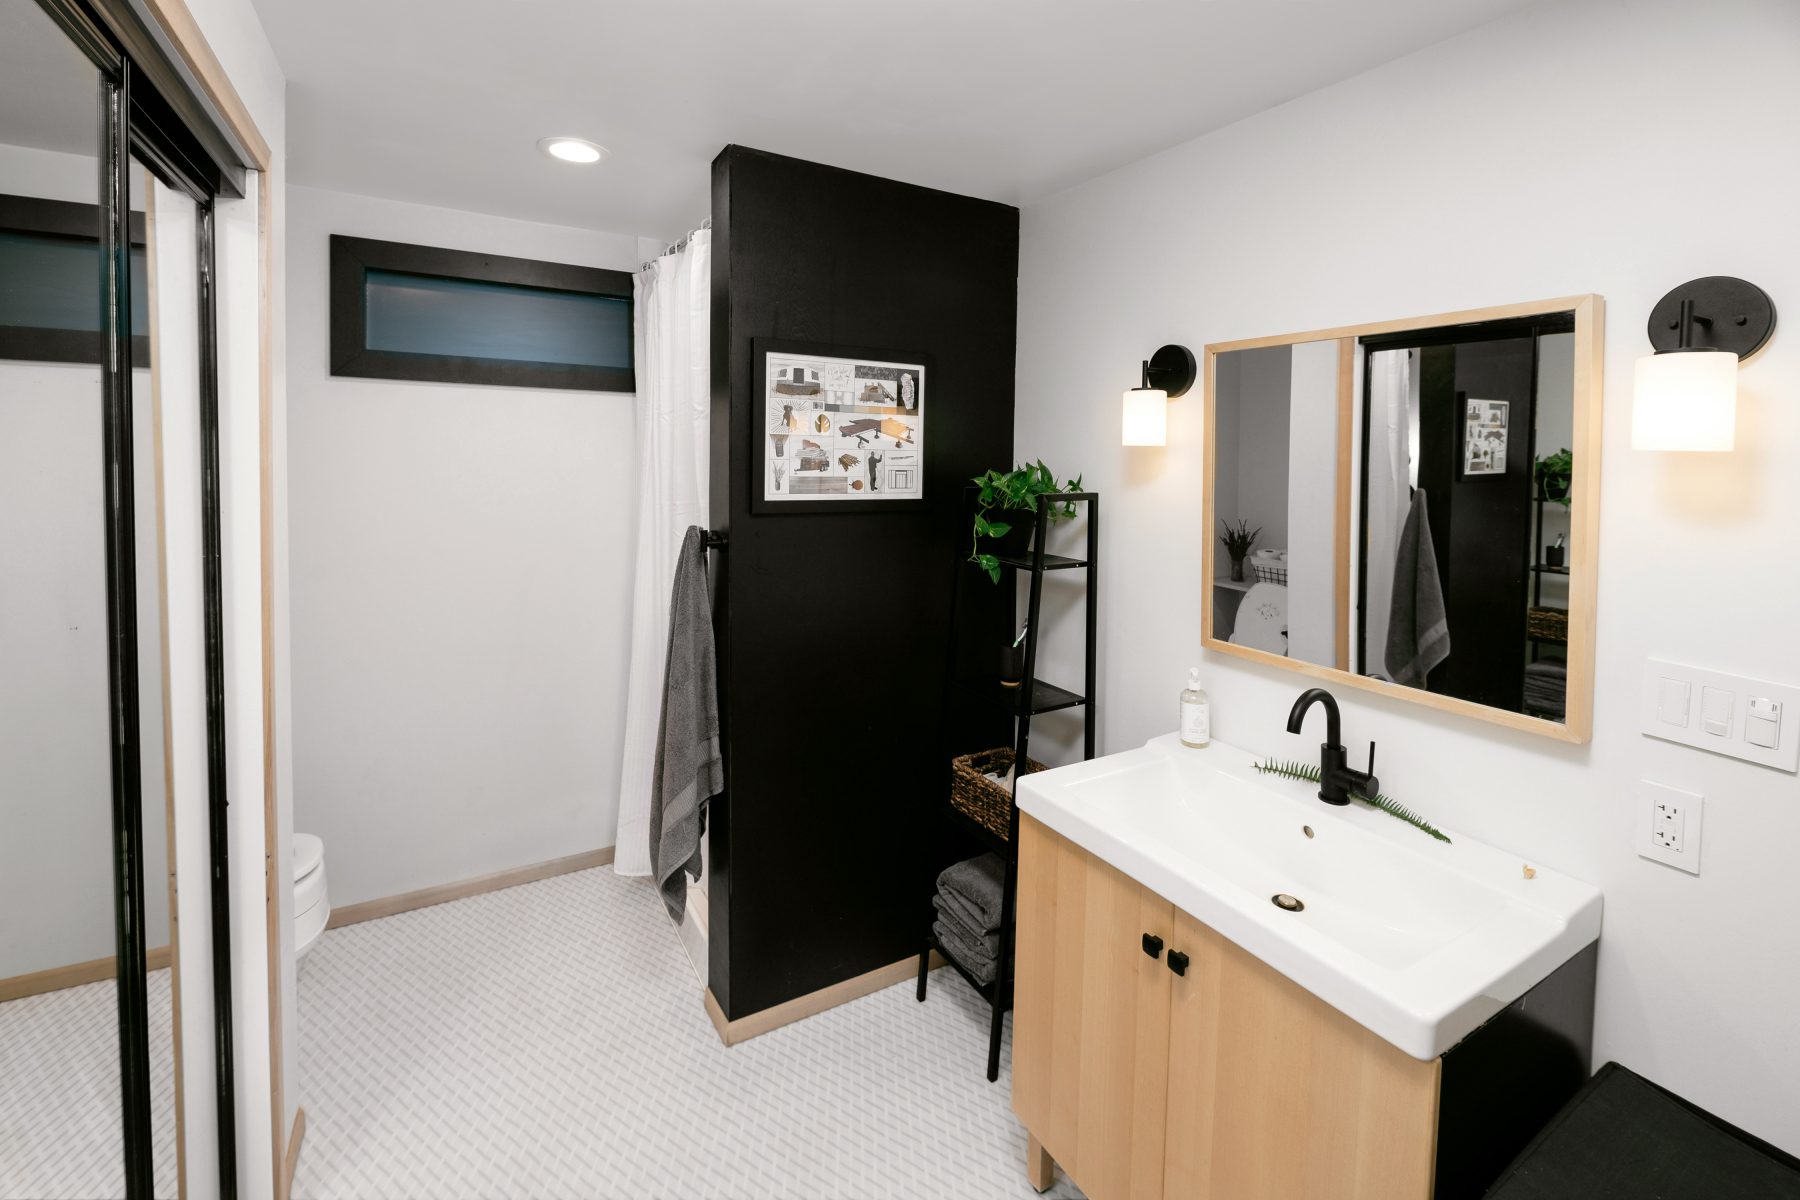
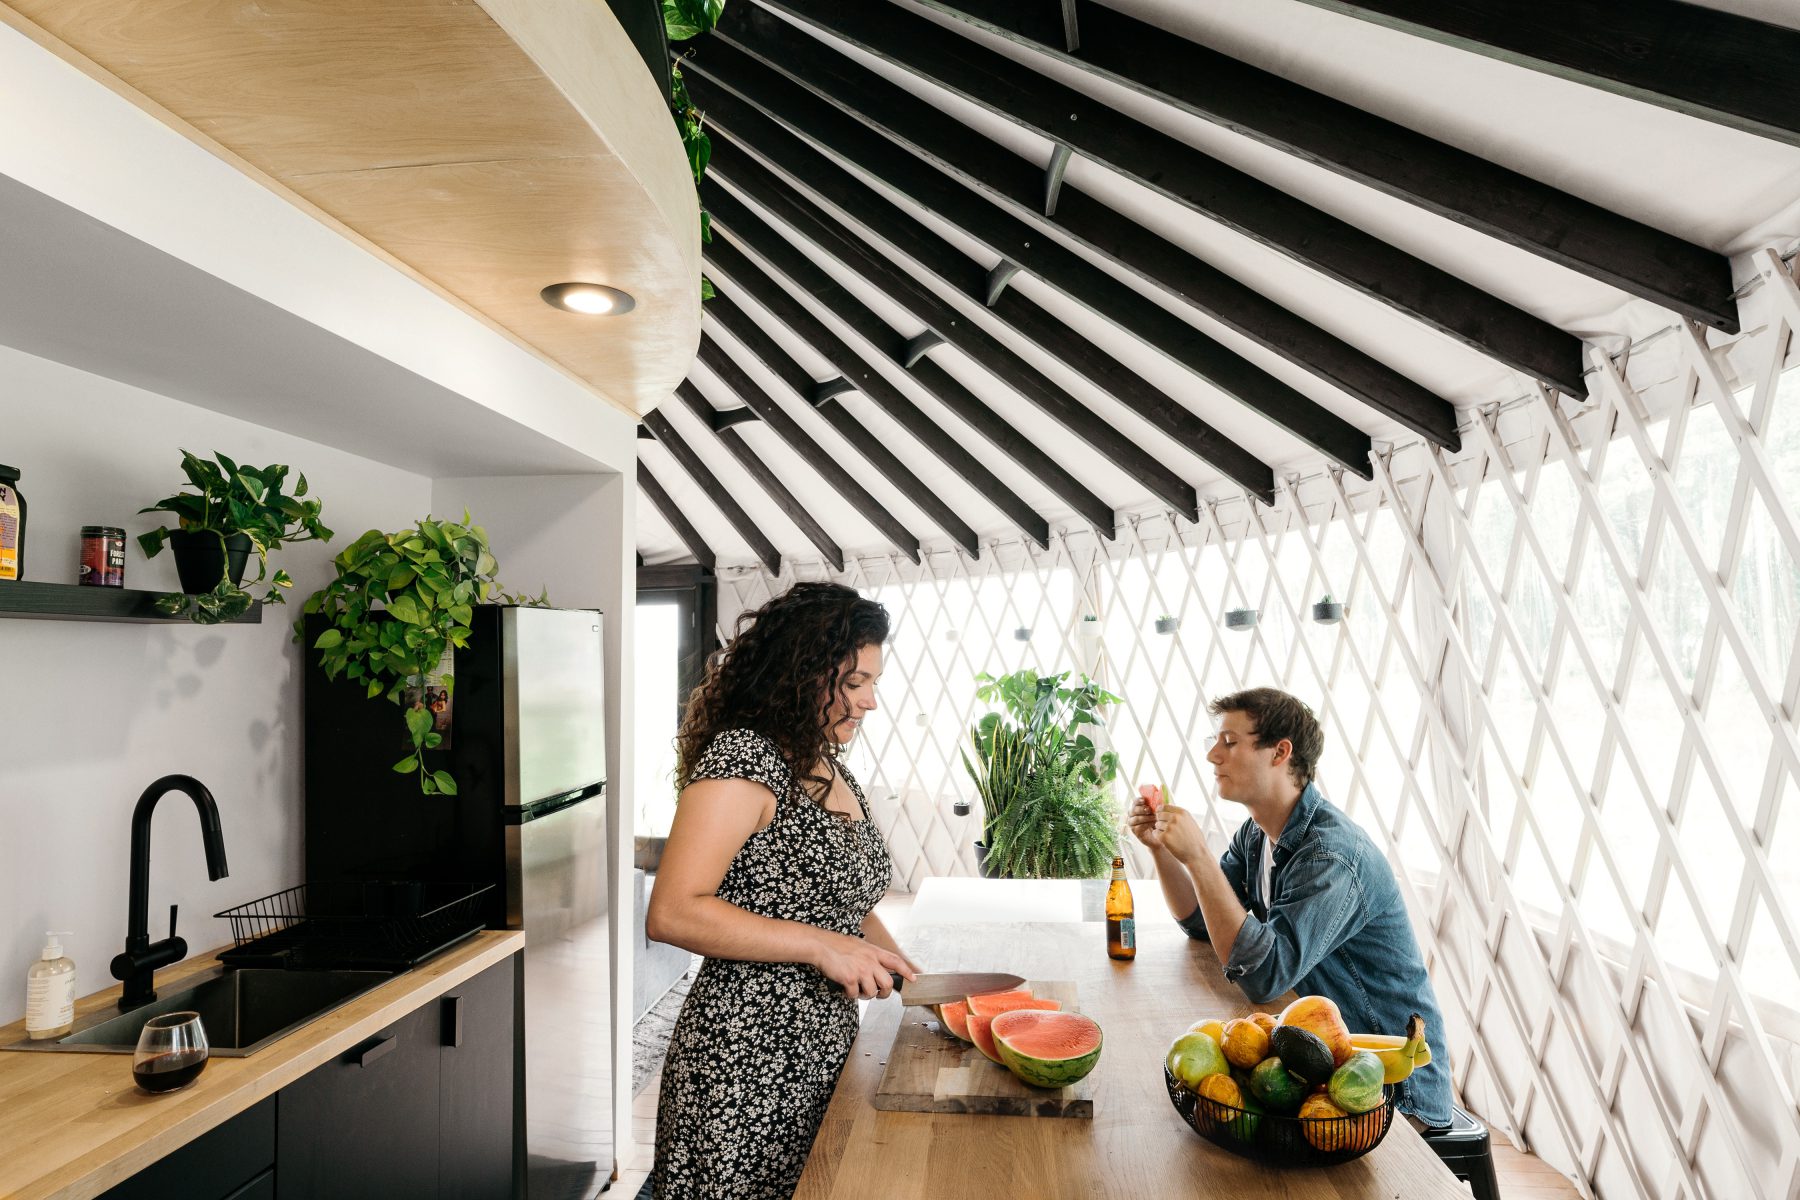
Do you have running water?
There is water flowing through the yurt for a shower and two sinks. The water is pumped from a nearby well. A small 19 gallon electric water heater provides lovely hot showers in the yurt.
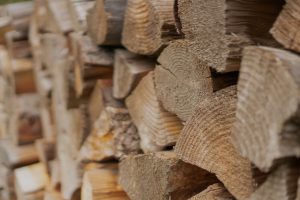
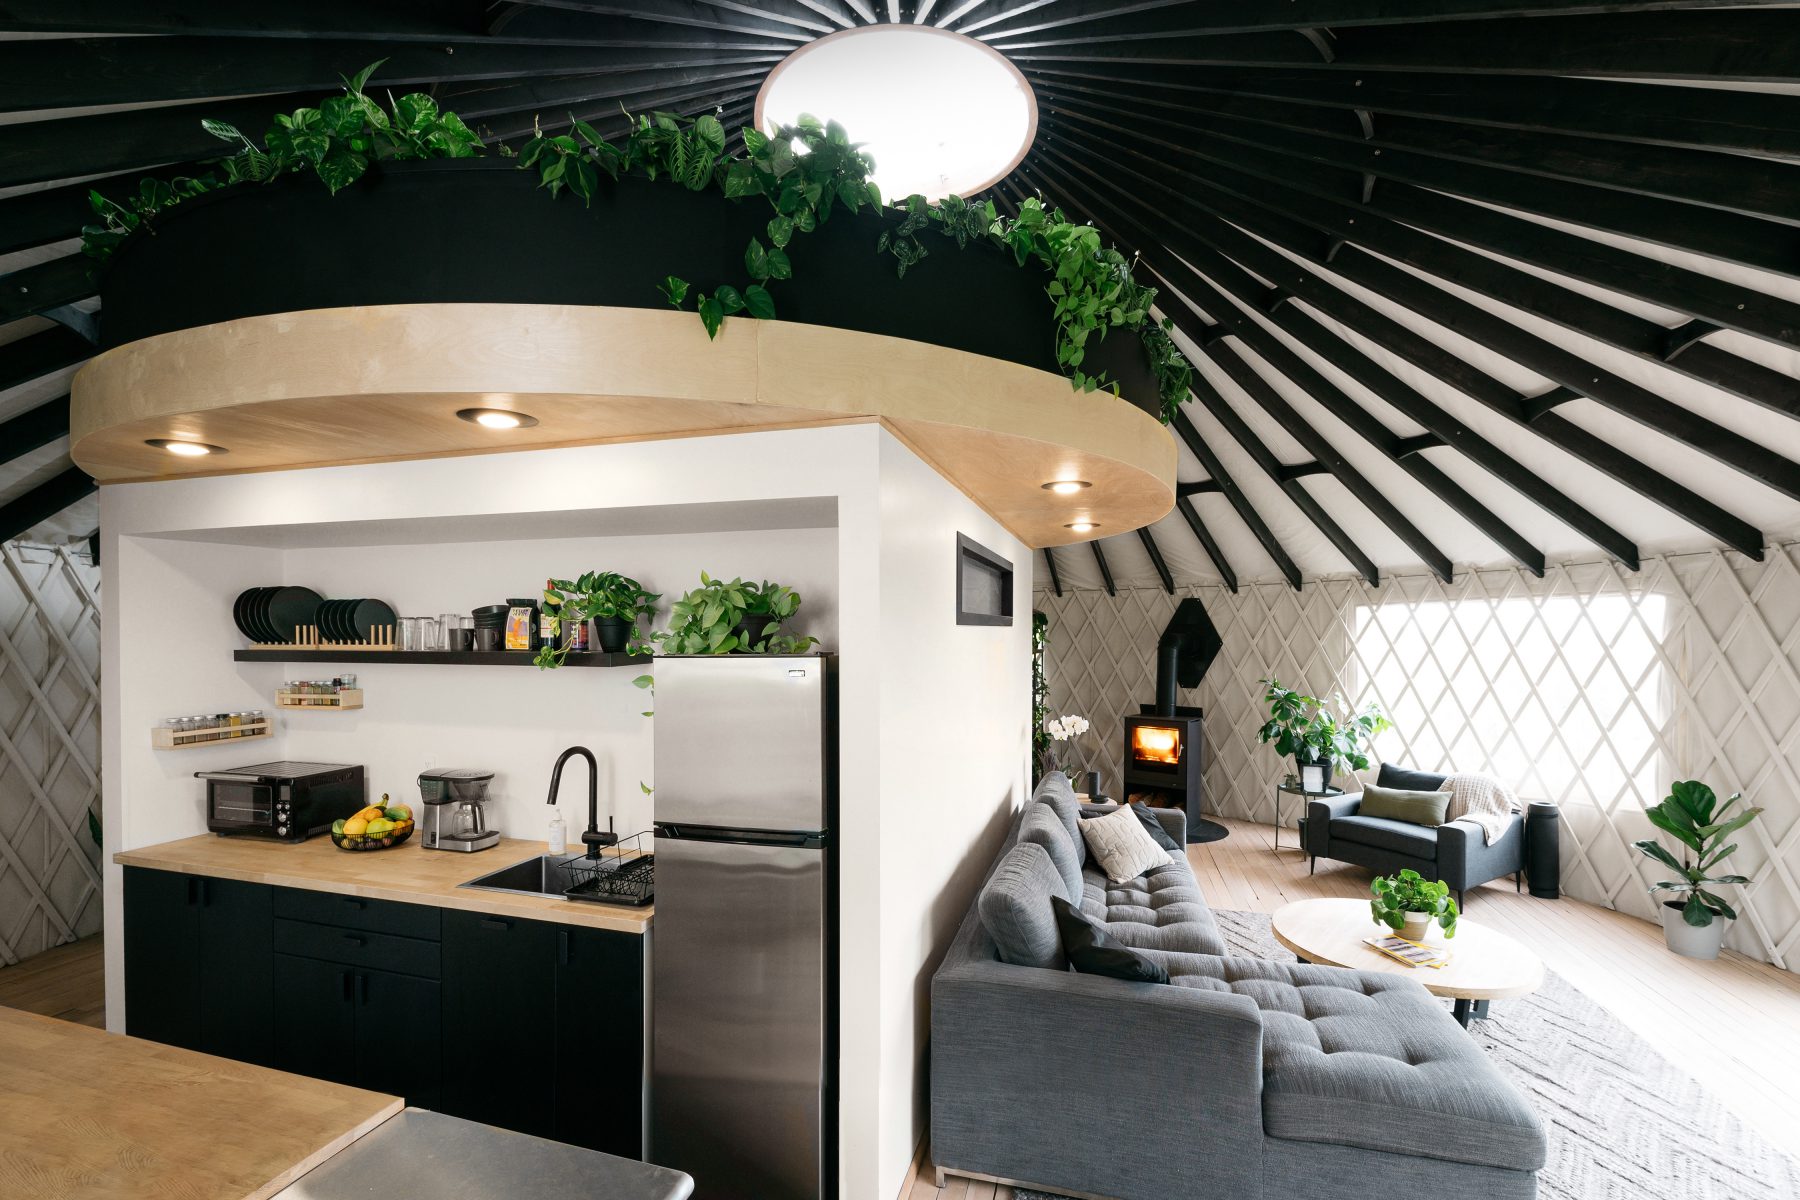
How do you keep a yurt warm?
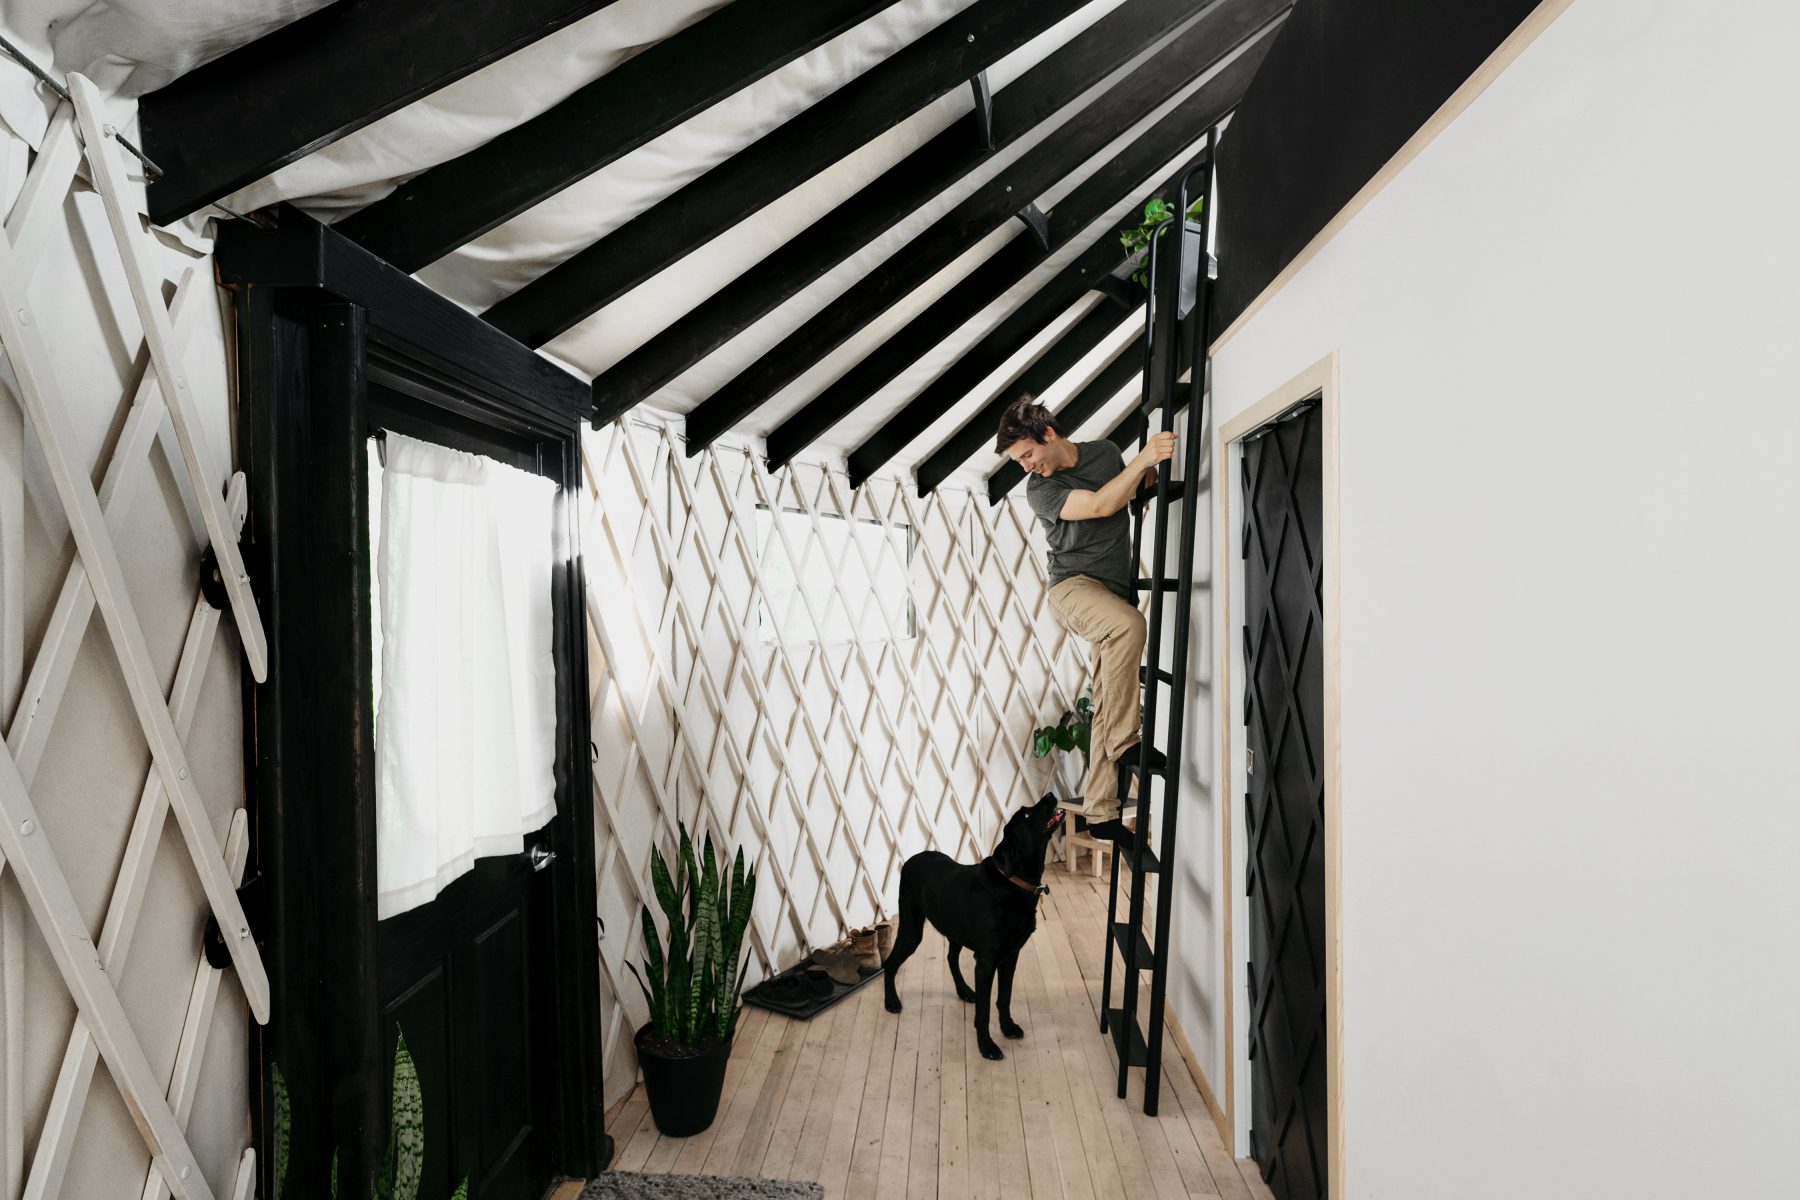
It can get quite cold in a yurt during the winter months—especially if you opted for big windows like us. The best way to keep a yurt warm is to add insulation to the walls and roof. Once you have done as much of that as you can, it's time to start up the wood stove.
How do you keep a yurt cool?
Yurts do not do well in extreme heat. It's best to find a location for a yurt that is in a mild climate and in a place where you can build in some partial shade. During the summer months, you can use fans or potentially an A/C unit if you have the power to run it.
Can I hire someone to build a yurt?
There are builders around the country who specialize in building yurts. All the major yurt manufacturers can direct you to their preferred builder.

About
The Site
Do It Yurtself is not a blog. Think of it more as a friendly advisor. An opinionated right-hand man who provides insight to those interested in building a yurt and embracing an alternative lifestyle. Best of all, this helping hand is free to use and completely void of expectation for something in return. Enjoy.
The Author
Zach Both is a young filmmaker who in a past life worked as a designer and art director. His passion for telling unique and unusual stories through filmmaking lead him to travel the country in a van until he decided to put down roots in the Pacific Northwest with his girlfriend, Nicole. Zach is available for commercial film work and is also interested in collaborating with other like-minded creatives on personal film projects. Willing and able to travel for both. To see his work, check out his portfolio. To follow along with his travels, follow him on instagram.
Special Thanks
This project would not have been possible without the dedication, support and much needed help of our friends and family below.
Build Crew
Nicole Lopez
Kent Both
Etu Holloway
Craig Broady
Bonnie Chih
Andrea Fernandez
Ray Estrada
Chris Andrews
Partners
We would like to thank our partners for the confidence and commitment in our project. This yurt and website would not have become reality without their patient support.