Finishing Touches
Difficulty
Time Spent
14 Days
Main specs for American yurt companies (organized alphabetically). Updated December 2019. Pacific Yurts declined to provide information for this website.
Yurt Company Acronym Key
- BR = Blue Ridge Yurts
- CY = Colorado Yurt
- GL = Great Lakes Yurt Co
- LI = Living Intent Yurt Co
- NS = Nomad Shelter
- RO = Rainier Outdoor
- SD = Shelter Designs
- YA = Yurts of America
Company Contact
Company | Website | Phone Number | |
---|---|---|---|
BRBlue Ridge Yurts | blueridgeyurts.com | info@blueridgeyurts.com | (540) 745-7458 |
CYColorado Yurt | coloradoyurt.com | info@coloradoyurt.com | (800) 288-3190 |
GLGreat Lakes Yurt Co | greatlakesyurtco.com | steve@greatlakesyurtco.com | (269) 808-3664 |
LILiving Intent Yurt Co | livingintentyurts.com | livingintentyurts@gmail.com | (207) 350-9457 |
NSNomad Shelter | nomadshelter.com | nomadsheltersales@gmail.com | (907) 235-0132 |
RORainier Outdoor | rainieroutdoor.com | outdoor@rainier.com | (866) 483-6795 |
SDShelter Designs | shelterdesigns.net | info@shelterdesigns.net | (406) 721-9878 |
YAYurts of America | yurtsofamerica.com | info@yurtsofamerica.com | (317) 377-9878 |
Company Details
Company | Location | Year First Yurt Sold | Tour Available? |
---|---|---|---|
BRBlue Ridge Yurts | Floyd, VA | 2004 | |
CYColorado Yurt | Montrose, CO | 1980 | |
GLGreat Lakes Yurt Co | Grass Lake, MI | 2017 | — |
LILiving Intent Yurt Co | Grass Valley, CA | 2015 | |
NSNomad Shelter | Homer, AK | 1987 | |
RORainier Outdoor | Tukwila, WA | 2004 | |
SDShelter Designs | Missoula, MT | 2005 | |
YAYurts of America | Indianapolis, IN | 1986 | — |
Yurt Info
Company | Available Sizes | Max Snow Load* | Base Cost of 30' | Base Cost of 16' |
---|---|---|---|---|
BRBlue Ridge Yurts | 16', 20', 24', 30' | 60 psf | 60 psf | $13,047 | $7,299 |
CYColorado Yurt | 16', 20', 24', 27', 30' | 15 psf | 95 psf† | $12,240 | $7,090 |
GLGreat Lakes Yurt Co | 16', 20', 24', 27', 30' | 75 psf | 75 psf | $11,000 | $5,000 |
LILiving Intent Yurt Co | 12', 14', 16', 20' | — | — | $6,000 |
NSNomad Shelter | 12', 16', 20', 24', 30', 34', 40', 50' | 60 psf | 60 psf | $15,500 | $8,000 |
RORainier Outdoor | 16', 18', 21', 24', 27', 30', 33' | 100 psf | 105 psf† | Eagle: $18,820, Raven: $13,358 | Eagle: $9,466, Raven $7,426 |
SDShelter Designs | 12', 16', 20', 24', 27', 30', 35', 40' | 40 psf | 150 psf | $12,480 | $6,760 |
YAYurts of America | 12', 14', 16', 20', 30' | 60 psf | 95 psf | $12,000 | $6,499 |
*(30' yurt without upgrades | 30' yurt with all upgrades), †Site specific engineering available for higher snow loads
Rafter Details
Company | Wood Species | Base Rafter Size for 30' |
---|---|---|
BRBlue Ridge Yurts | Spruce | 2x6 |
CYColorado Yurt | Doug Fir | 2x4 |
GLGreat Lakes Yurt Co | Doug Fir | 2x6 |
LILiving Intent Yurt Co | Doug Fir | — |
NSNomad Shelter | Spruce | 2x6 |
RORainier Outdoor | Doug Fir | 2x6 |
SDShelter Designs | Western Tamarack (Larch) | 2x6 |
YAYurts of America | Southern Yellow Pine | 2x6 |
Lattice Details
Company | Wood Species | Lattice Thickness | Base Height of Wall |
---|---|---|---|
BRBlue Ridge Yurts | Poplar | 3/4" | 7' 4" |
CYColorado Yurt | Doug Fir | 1/2" | 7' 2" |
GLGreat Lakes Yurt Co | Doug Fir | 1/2" | 7' 4" |
LILiving Intent Yurt Co | Bamboo | 1/2" | 6' 9" |
NSNomad Shelter | Spruce | 7/8" | 7' |
RORainier Outdoor | Doug Fir | 3/4" | 7' 4" |
SDShelter Designs | Doug Fir | 7/16" | 7' 2" |
YAYurts of America | Poplar | 3/4" | 7' |
Available Upgrades
Company | Insulation |
Thick Roof Cover |
French Doors |
SIP Panels |
Glass Windows |
Awnings |
Rain Diverter |
Opening Dome |
Tinted Dome |
Water Catchment |
Wind & Snow Package |
10ft Walls |
Swappable Walls |
---|---|---|---|---|---|---|---|---|---|---|---|---|---|
BRBlue Ridge Yurts | — | — | — | ||||||||||
CYColorado Yurt | — | — | — | ||||||||||
GLGreat Lakes Yurt Co | — | — | — | — | — | — | — | — | — | — | |||
LILiving Intent Yurt Co | — | — | — | — | — | — | — | — | |||||
NSNomad Shelter | — | — | — | — | — | — | — | — | — | — | — | ||
RORainier Outdoor | — | ||||||||||||
SDShelter Designs | — | — | |||||||||||
YAYurts of America | — | — |
Final Details
Company | Lead Time | Shipping Available | Financing Available | On-site Construction Services | International Purchasing |
---|---|---|---|---|---|
BRBlue Ridge Yurts | 3-4 weeks | — | — | ||
CYColorado Yurt | 5-8 weeks | ||||
GLGreat Lakes Yurt Co | 6-8 weeks | — | — | ||
LILiving Intent Yurt Co | 7 weeks | — | |||
NSNomad Shelter | 6-12 weeks | ||||
RORainier Outdoor | 3-7 weeks | ||||
SDShelter Designs | 4-6 weeks | — | |||
YAYurts of America | 2-5 weeks |
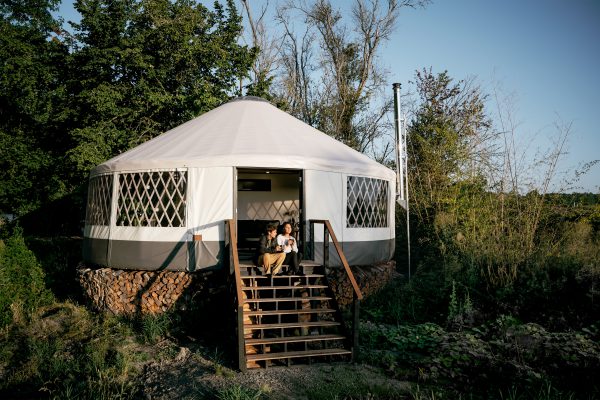
The end is in sight! Many odd jobs need to be completed to add a final polish to the space.
Finish flooring
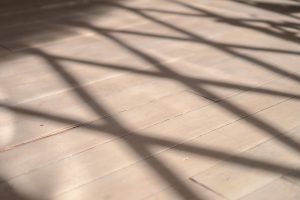
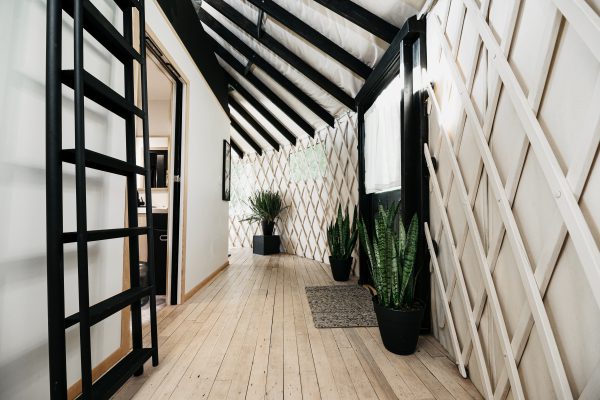
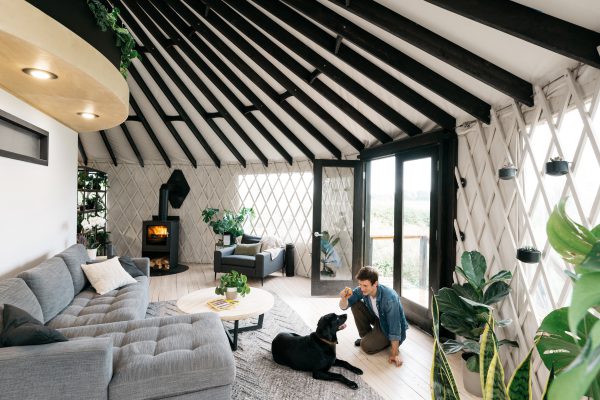
What should have been completed before the yurt went up was now being finished months into the build of our interior. The final boards were wedged into place and ready to be refinished. Using a drum floor sander we stripped any old paint, polyurethane or stain left on the mismatched flooring. The boards were then colored with an antique white stain and finished with three coats of water-based satin flooring finish. It’s the perfect muted flooring with a slightly rustic character. It is a yurt after all.
Painting
With the drywall complete (after electrical and plumbing work), we went to town on the walls with our rollers and brushes. We kept it simple with white and black walls.
Install bathroom flooring
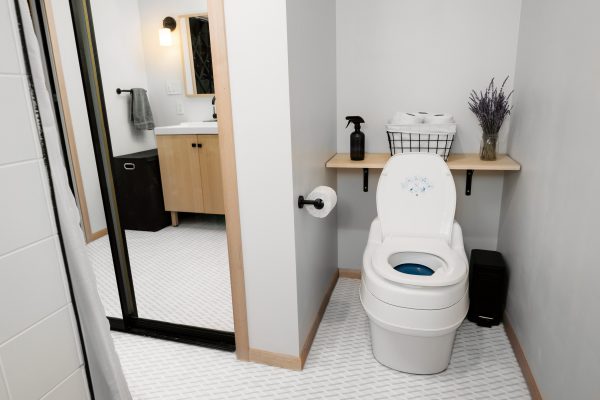
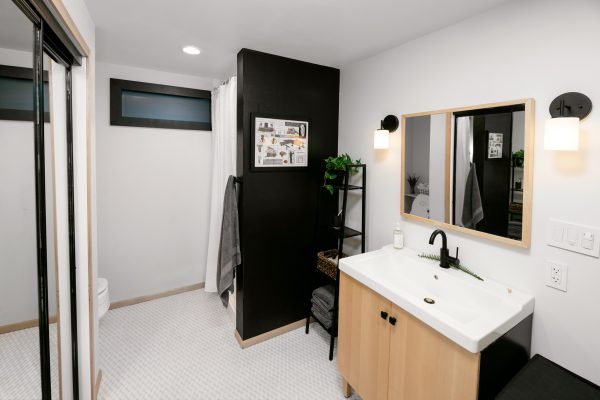
This was a small side project I was so excited about. The bathroom is the only place in the yurt where you can’t see the lattice. Because of that, I wanted to incorporate some semblance of the lattice into this room. My wonderful pattern-designing friend, Allie Runnion, created a simple two-toned lattice pattern that was custom printed on Bild polyvinyl flooring by the fine folks over at Better Life Technology. Super durable and easy to clean.

The install brought flashbacks of creating floor templates for the Vanual. A template was made of the bathroom and traced onto the printed flooring. Carefully cut to size with a utility knife, the floor was then laid in the bathroom. If I was 100% certain this yurt would be permanently in place, I would have properly glued the vinyl to the platform below it. I found it worked just fine as a floating floor.
Create and install bathroom door
The entry to the bathroom was designed to use a pocket door because of its space-saving qualities. I wanted to add a little intrigue to the simple slab door I planned to hang. I measured the proportions of the lattice walls and recreated the lattice pattern with some thin ¼” lattice pieces. Once glued and nailed together, I painted the entire door black. It’s a subtle design choice, but I’m really happy with how it turned out.
Install trim moulding
Simple trim job with hemlock moulding and finished with a satin polycrylic. Base moulding installed along the bottom and base shoe installed along the top underneath the loft.
Install FlexTrim
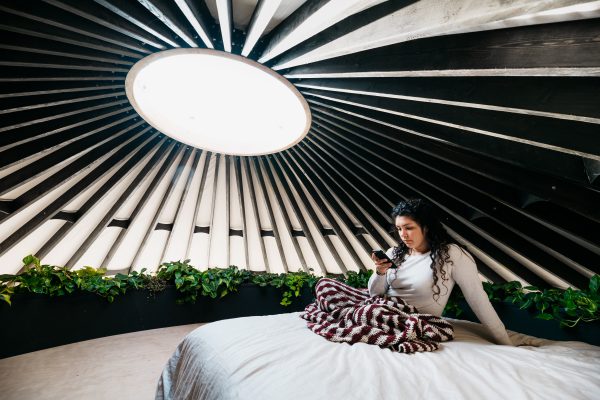
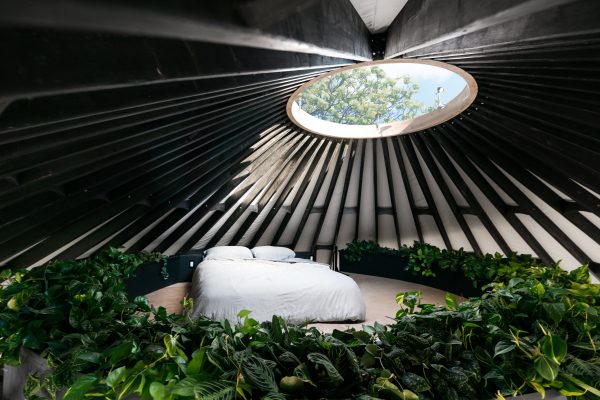
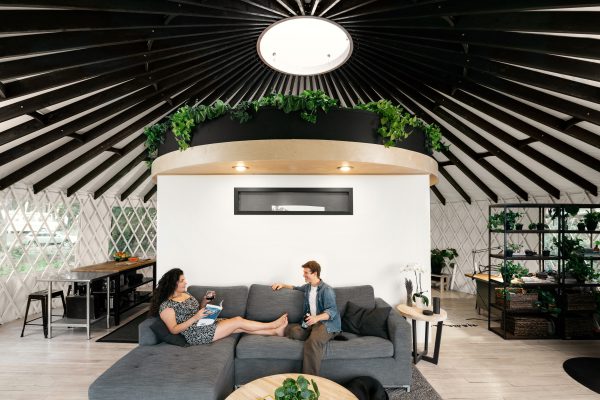
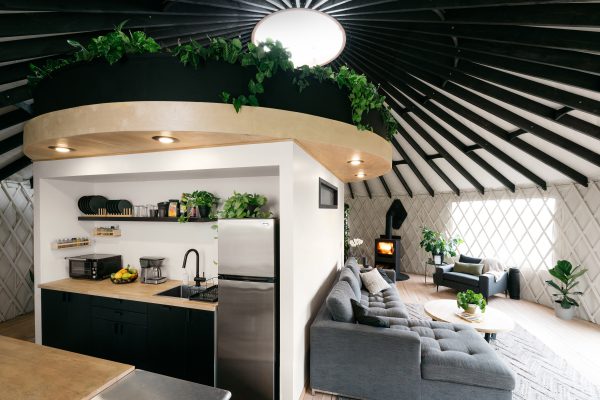
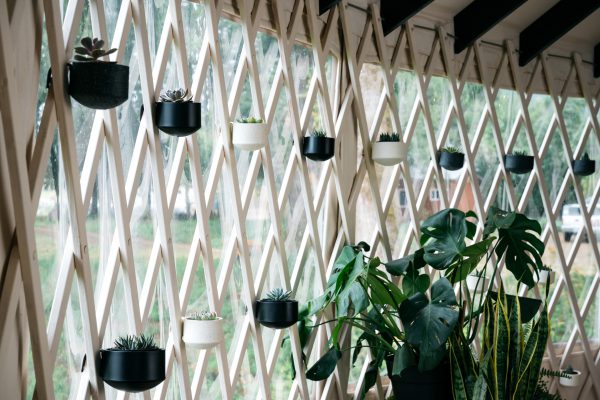
Up on the loft, I knew I wanted to have a simple finished edge on the top and bottom of the curved planter. I tried to bend normal wood moulding and it would snap every time. That’s when I found FlexTrim, a resin-based flexible moulding that can easily bend around curves. I decided to use outside corner moulding for the top of the planter and base shoe for the bottom. It was cut to size with a miter saw and installed with liquid nails and a few pin nails. I then painted it black to match the rest of the planter. It’s a super cool product that could definitely be used in other parts of a yurt build—perhaps along the curved exterior walls if someone decides to cover up the lattice with paneling.
Install kitchen cabinets
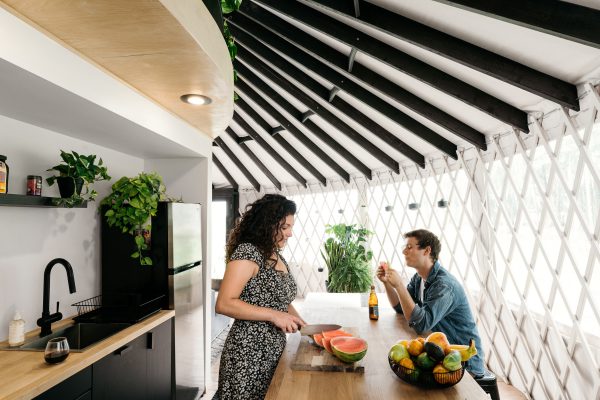
Kitchen cabinets were your basic offerings from Ikea. Karlby countertop with kungsbacka doors and drawers. Somewhat painless. It would probably be helpful to have a 2nd person to assist.
Attach loft ladder
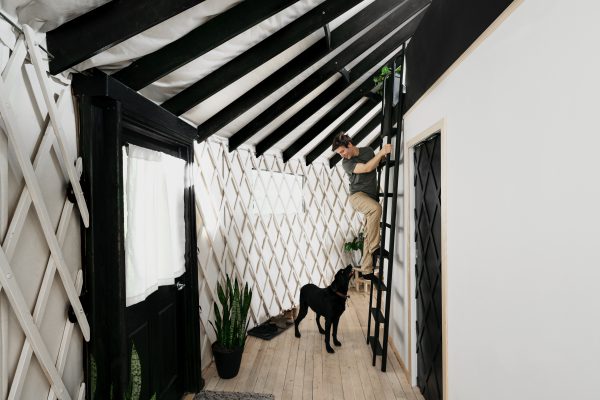
I sat on this for a long time since I don’t know what I wanted to do within a reasonable amount of time. I designed a loft ladder in 3D that I wanted to get fabricated, but the quotes I received were exorbitant. Luckily, browsing the interwebs I found a coincidentally similar aluminum ladder from a metal salvage shop in Portland called Metalwood Salvage. With a few modifications, it fit perfectly. I had it powder-coated black before screwing into place.
Bring in appliances
Not much to this as we kept our appliance selections minimal. An apartment-sized fridge fit right into place. For cooking, we opted to not go the built-in route. We wanted cooking appliances small and mobile enough that we could put them away when not in use. We decided to go with an induction stove and a Breville convection oven. We’ve made roasted salmon, chicken and homemade pizza in these little guys and have not had a need for anything more.
Bring in furniture
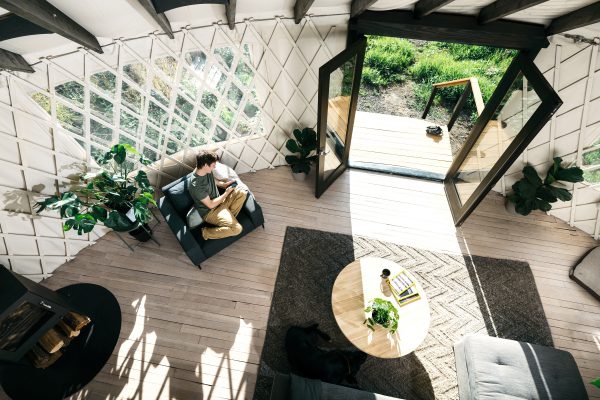
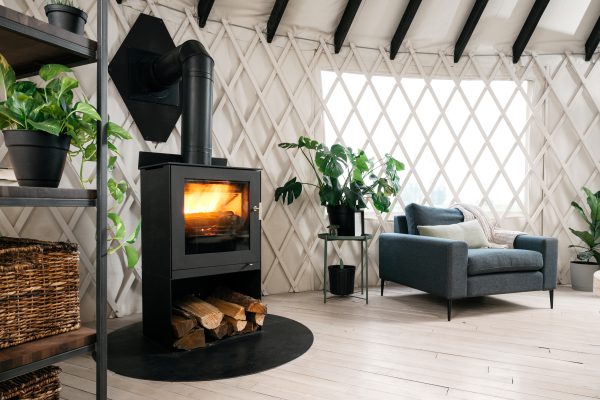
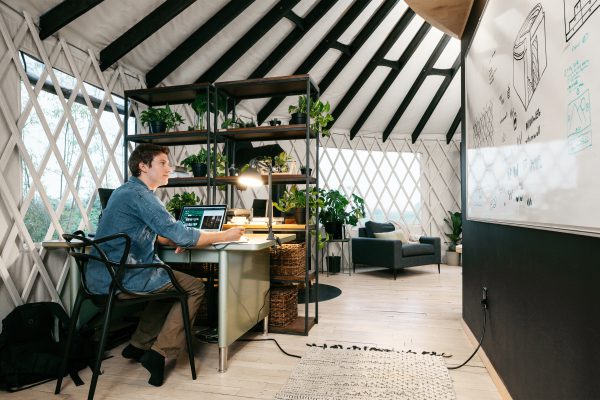
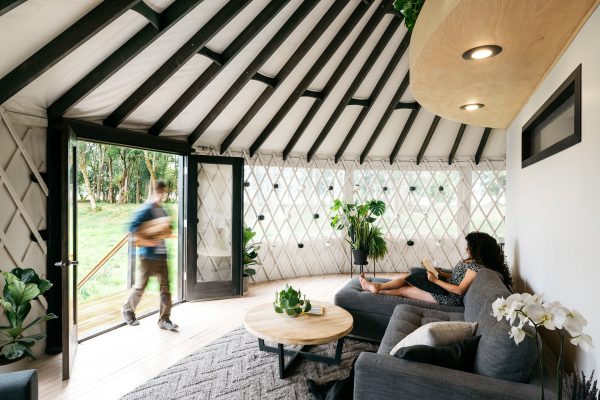
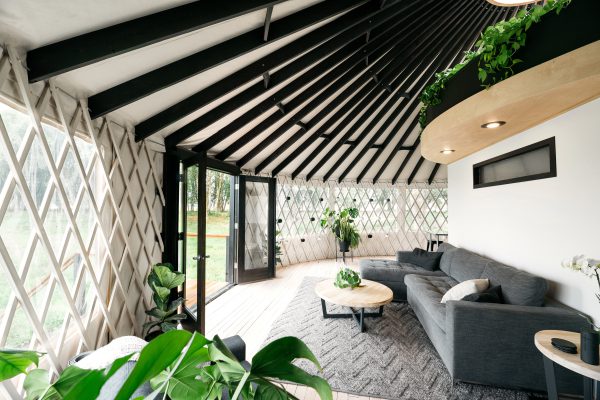
The cherry on top. Our yurt was decked out almost exclusively in furniture from Article (with some exceptions). Coffee table, side table, pull out couch, lounge chair and wool rug filled our living room. Two bookshelves for storage while also doubling as a quasi-partition for the office. The shelves were secured to the floor with some screws into the platform. The desk in my office is an awesome vintage tanker desk that lacks the big bulky drawers often found with similar pieces. Crazy black plastic chair for the desk. In the kitchen, our island is from Ikea with a small stainless steel prep table as an extension. It was amazing how quickly the yurt felt like a home with the furniture in place. It only took us two days before inviting our first few friends over.
Unwrap and make the bed
As someone who has spent countless nights on cheap, poor-quality mattresses for most of my adult life, I could not wait to finish our oasis bedroom loft with the most comfortable bed I could find. I did exactly that with a firm hybrid latex mattress from Nest Bedding. We had to add the Easy Breather pillows and top it all off with a cooling mattress pad, sheets, and wool comforter. Even Maya got a new bed made from wool. The whole family has slept soundly ever since.